
What is a concept map?
Concept maps were first used in universities in the 1970s, but are now also used by engineers, designers, businesses, and anyone who needs to illustrate how concepts relate to each other. Creating a concept map is a way to organize, explore, and expand your understanding of a topic. When you create a graphical overview of ideas, you make them easier to comprehend and also remember.
Concept maps not only help you to understand and visualize how ideas relate to each other, they also help you to communicate your knowledge to others. That can be especially useful when collaborating in teams or explaining ideas to anyone unfamiliar with your area of expertise.
Make your own concept map with Gleek.
On the most basic level, a concept map consists of titled circles or boxes connected with lines or arrows. The lines and arrows represent relationships and can also include text labels to explain the nature of these relationships. These shapes and lines make up a network of concepts and their connections.
To start constructing a concept map, it can be useful to start with a focus question. This can be a phrase, word, or question that the map is designed to explore. The better your focus question, the more useful your concept map, so it’s worth spending some time working it out.
Once you have your focus question – the main idea of your concept map – you can create it as a shape at the top of your map. Concept maps are hierarchical in structure. You start with general concepts at the top, such a concept related to the focus question, and work downwards to map out more specific concepts. Concept maps are generally read from top to bottom.
A simple example of a focus question is “How do astronomers classify planets in the solar system?”. Let’s see if we can create a quick concept map in Microsoft Word based on that concept.
Step-by-step guide to making a concept map in Microsoft word
Step 1
Open a new document in Microsoft Word and click on the Insert tab in the ribbon at the top. Then select Shapes and choose New Drawing Canvas at the bottom of the dropdown menu.
Step 2
We’ll use an oval for our core concept (you can use the focus question itself or just a short version of it). Click on Shapes again under the Insert tab and choose Oval under Basic Shapes. Click on the drawing canvas and drag the oval to whatever size you like. Tip: you can hold Shift as you drag to keep it a perfect circle.
Step 3
Right-click to Add Text to write our title inside the oval. We’ll write “Solar System” for our core concept.
Step 4
Repeat the process for our first concepts. We’re going to use “Inner Planets” and “Outer Planets” to start showing how astronomers classify planets. Let’s use a rectangle from under Basic Shapes for these classifications to differentiate them from our basic idea.
Step 5
So we’ve got our concepts and now we need to show how they connect. We’ll use an arrow. You can also use a line or any of the other types of connectors. Click on Shapes -> Lines -> Line Arrow then hover over the oval on the canvas. Circles will appear to show where you can attach your lines or arrows. Attach the arrow to the bottom of the oval and then attach it to the top of the rectangle. That’s the first relationship between our concepts.
Step 6
Now you can add the planets. Four outer and four inner planets. Sorry, Pluto.
Step 7
Next is to show everything relates to each other. At this point, your concept map represents how everything fits together, based on the division into inner and outer planets. You can move the shapes around, align or distribute them, make lines longer, add text labels to the lines or do whatever you need to make the map come to life.
The concept map for our example might end up looking like this.
What’s the difference between a concept map and a mind map?
Mind maps evolved from concept maps, but are simpler. To make a mind map, you start with a central concept and add other concepts around it, in a form of brainstorming. Mind maps aren’t hierarchical, so you can’t represent complex relationships between the elements. Mind maps can be a useful way of starting a concept map when you just want to start thinking about all the concepts involved.
Concept maps in Gleek
What if you don’t want to use Word for your concept map? Maybe all those fiddly shapes, lines, and text boxes are not your style. Luckily you can create a quick concept map in Gleek. No more messing around with dragging and obsessively aligning shapes. Just use your keyboard and Gleek’s unique diagramming syntax.
Make your own concept map with Gleek.
Step 1
Open app.gleek.io in your favorite browser. You don’t need to sign up. Click “New diagram” under “Default workspace”.
Step 2
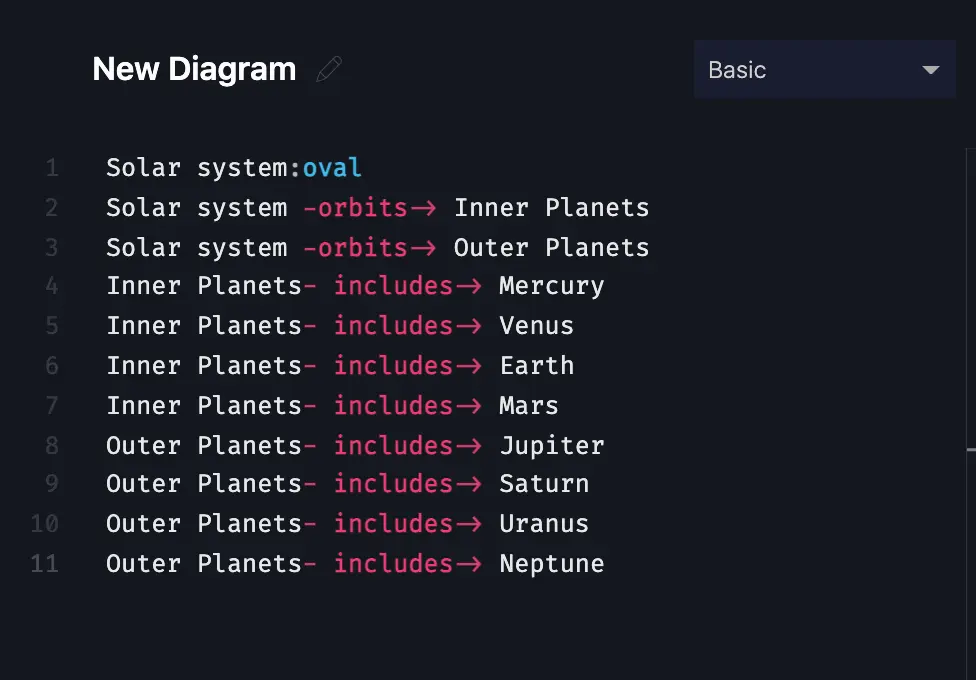
Your cursor will already be waiting for input. Let’s use our example above to create the same concept map in Gleek. Type “Solar System” and Gleek will draw a rectangle. Tip: we can make it an oval by adding “:oval” to the name.
Step 3
Next, we type “Solar System -orbits-> Inner” and “Solar System -orbits-> Outer” and Gleek will automatically populate the map with these elements already connected by labeled arrows. If you didn’t want to bother with the labels, you can just use “–>”. Note that Gleek will helpfully autocomplete existing concepts or phrases as you type.
Step 4
The next step should be obvious. We enter the rest of the planets in the following format (you can copy and paste inside the Gleek input window if you find that faster): Inner -includes-> Mercury… Outer -includes-> Jupiter… and so on.
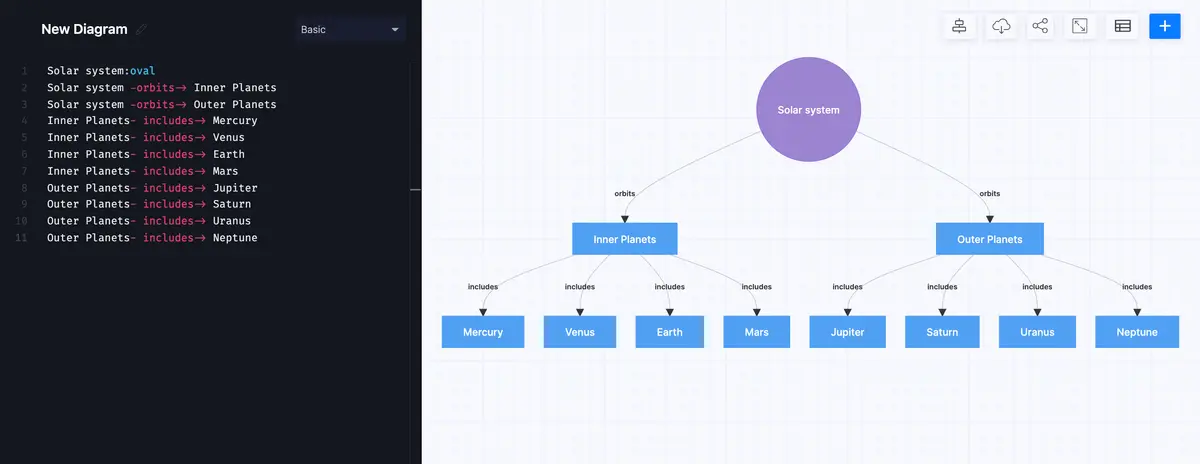
The lines above are automatically converted into a concept map that you can share and change.
Make your own concept map with Gleek.
The same concept map as we created in Word, but completed in a couple of minutes in Gleek using just a handful of text in a syntax that’s easy to edit and understand.